Loading a Gallery of Photos
Shap Abbey, England
. . . THIS MAY TAKE A MOMENT OR TWO . . .
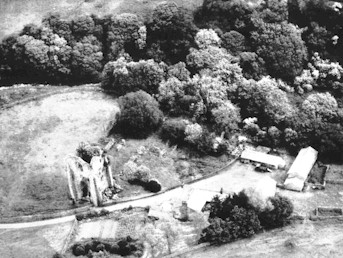
| Shap, aerial photograph, with the bell tower of the church at lower left center, nave stretching toward mid center of the photograph. Farm buildings which cover part of the living area of the monastery are at right.. |
|
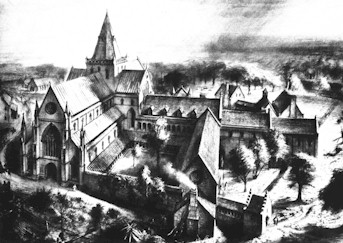
| Shap, 18th century sketch showing what original structure may have looked like. |
|
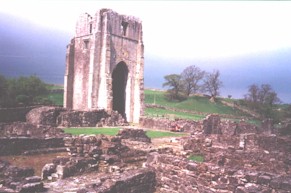
| Engraving showing the existing structure in mid-eighteenth century. | 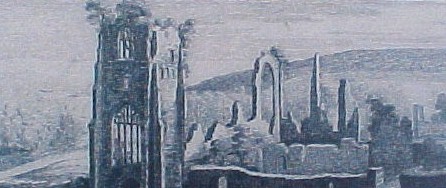 |
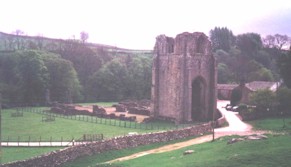
This is Shap, a view from the west. The tower, which is out of proportion to the rest of the site, is ascribed to Bishop Richard Redman, and has similar features to the tower of the Cistercian house of Fountains, built in the same period (1470-1500). The farm to the right (where the cars are parked) incorporate some of the original domestic buildings of the house. Behind the abbey is the River Lowther, shaded by trees. The village of Shap lies approximately one mile over the ridge in the distance. Behind the photographer, the fields have many traces of banks and walls associated with the abbey. The eastern precinct wall, which is visible in the tree line just below the ridge (photo center) survives to a height of 1 meter. |
|
| A view from the southeastern corner of the ruins. The monastic walls are apparent in the foreground, with the nave in the distance ar right. The Stations for the Sunday processions survive, incised into the flagged floor of the aisles! |
|
| A view taken from the area of the High Altar in the Abbey Church, showing the monumental scale of the tower. |
|
| View of the Church bell tower from the north (near the car park), with a flock of sheep wandering down the farm road toward the river Lowther, in the foreground. There is a footpath to the right of this photograph, which should be taken, since the sheep aggressively assert ownership of the farm road! | 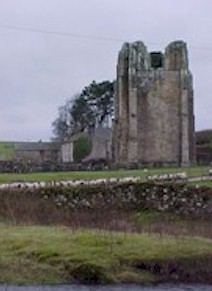 |
| Upper window of the bell tower as seen from the west wall (exterior) of the Abbey Church bell tower - - Niche below window almost certainly would have held statue of the Abbey's Patroness, St. Mary Magdalene. | 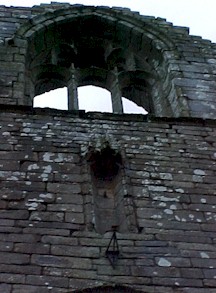 |
| Bell tower west wall, showing slit windows and settling crack. | 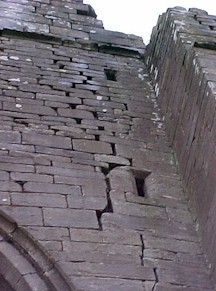 |
| Detail of photo above, west wall of bell tower, showing slit window and the settling crack. | 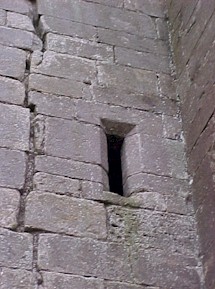 |
| Window tracery, west wall, bell tower. | 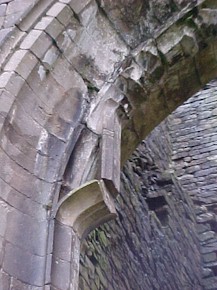 |
| Detail of the north side of the bell tower, showing a significant settling crack due to the removal of supporting Abbey Church walls / structures. | 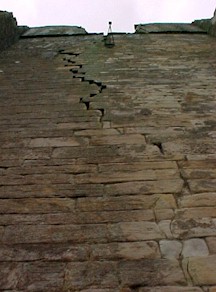 |
| Buttress on the northeast corner of the Bell Tower. |  |
| Bell tower from southeast. | 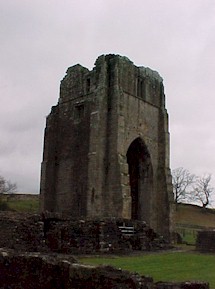 |
| Bell tower as it looks today from the Calidarium (warming room) and Chapter House. | 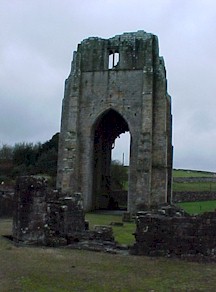 |
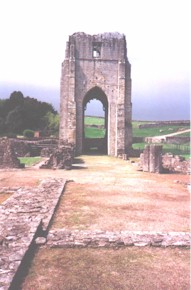
| Nave, looking from point of entry under/through the Bell Tower toward the High Altar / Sanctuary area in the distance. The river Lowther is immediately on the farther side of the High Altar area. | 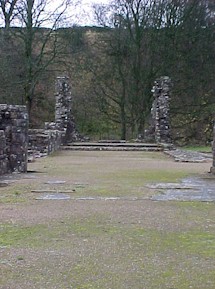 |
| Recessed pediment area around one of the great columns at the trancept of the Abbey Church (possibly for flood control). | 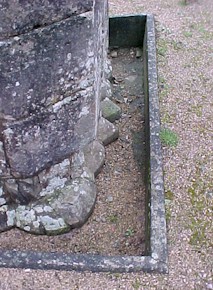 |
| View of Nave area of the Abbey Church from just north of the Bell Tower. | 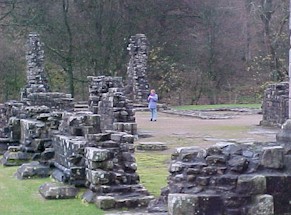 |
| View of the Sanctuary / High Altar area from the intersect of the south trancept with the Nave. |  |
| Closeup of the Sanctuary / High Altar area. Thomas Gospatric's grave is at left. | 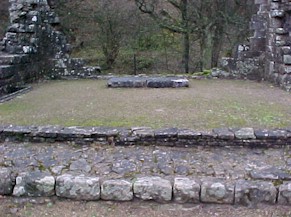 |
| Almost certainly the grave of Thomas Gospatric, Patron of the Abbey, located on the "Epistle side" of the Sanctuary / High Altar area. | 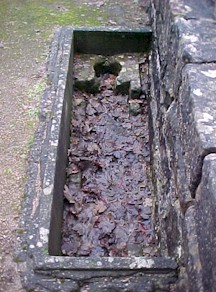 |
| Wider view of a commemorative chaplet within the Abbey Church. | 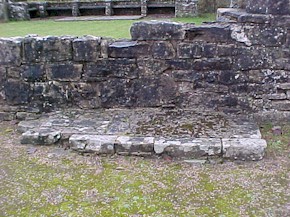 |
| Another Commemorative Chaplet within the Abbey Church. | 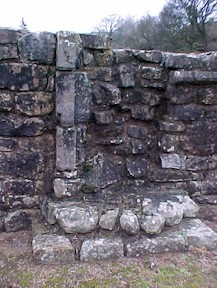 |
| Base of a commemorative sidealtar in the Abbey Church. | 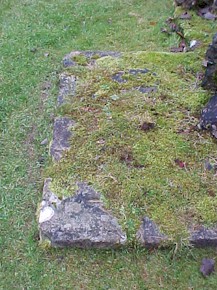 |
| Looking from the High Altar area back toward the rear of the Abbey Church and it's bell tower. | 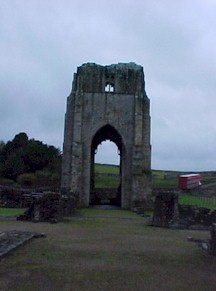 |
| Detail of the Bell Tower from the inside. Note roof line and also the cracks in the stonework -- indicative of some settling due to the removal of supporting Abbey Church stonework / stone walls. | 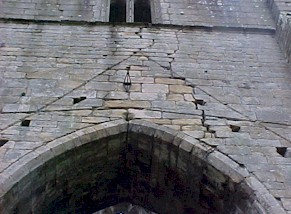 |
| Bell tower detail: Loft window, as seen from the interior of the bell tower. | 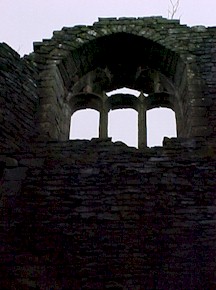 |
| Doorway leading to interior bell tower passage leading to bell floor. | 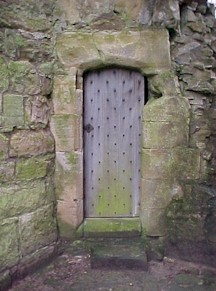 |
| Bell tower detail: upper door of passageway leading to bell floor. |  |
| More evidence of intricate stonework in the Abbey Church. Facing stone was hewn in a trapizoidal / triangular manner and fitted into the Church. | 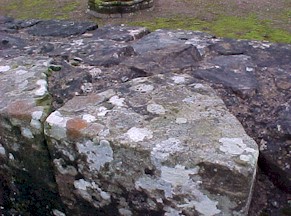 |
| Weight bearing walls of the north trancept extending outward at their base, similar to many other Abbey Church constructions. | 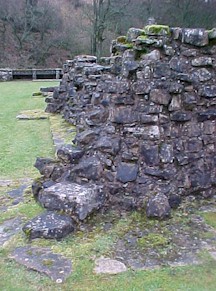 |
| Foundation lip on the outside wall base of the Abbey Church. | 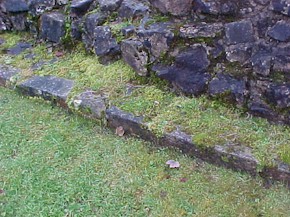 |
| Grave within the north trancept of the Abbey Church. | 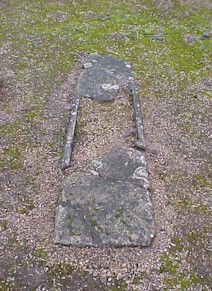 |
| View of the north trancept from the south trancept. |  |
| Exterior, north side of Nave, showing the fine stone work fitting of the exterior Abbey Church wall. | 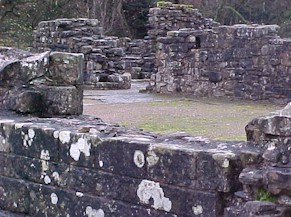 |
| Closeup of the above Abbey Church wall. | 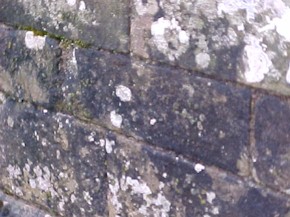 |
| Another indication of the presence of fine stonemasons in the area -- Facing lip on exterior north side of north trancept. | 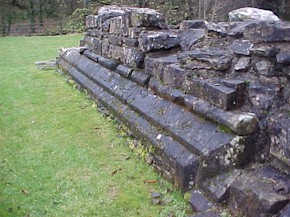 |
| More fine stonework at this Abbey! Close up photo of the exterior lip, north side Abbey Church wall. | 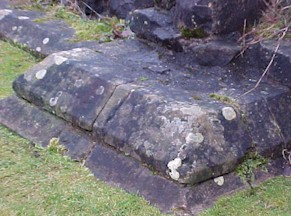 |
| Wide view of the undercrofting to both the Calidarium (at right) and the Chapter house (forward). | 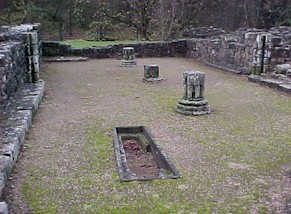 |
| Closeup of the grave in the undercroft of the Chapter House. | 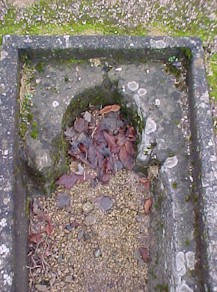 |
| Cloister area taken from the Northwest. | 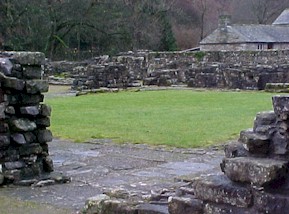 |
| Cloister area from southwest, with Cellarers rooms at upper left, nave at extreme center and right. | 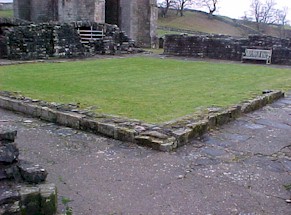 |
| The cellarer's rooms are just to the south at the west end of the Abbey church. | 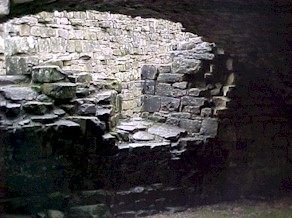 |
| The steps leading from the cellarers rooms to the Abbey Church / Cloister area. | 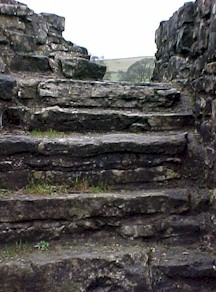 |
| Chapter house, wide view. | 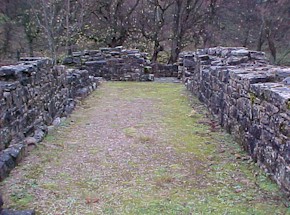 |
| Chapter House area. | 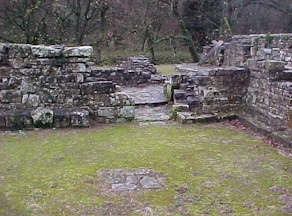 |
| Pillar base detail, undercroft of the Chapter House. | 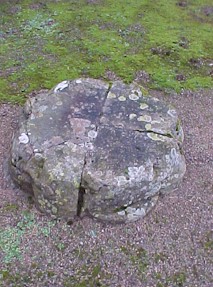 |
| Pillar base detail, undercroft of the Chapter House. | 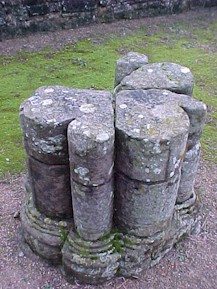 |
| Less well constructed stonework of domestic rooms. | 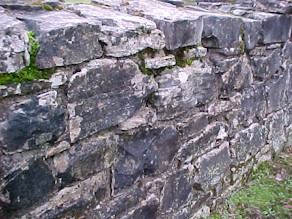 |
| Pillar base, Calidarium. | 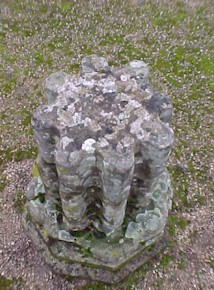 |
| The river Lowther flows less than 20 feet from the walls of the Abbey Church. | 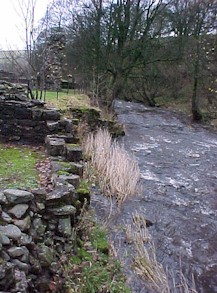 |
| Yet another view of the river Lowther in full flow (November, 2000), showing its proximity to the Abbey walls. These walls are of the Calidarium and Chapter House, which directly abut the Church. | 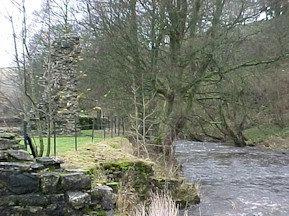 |